
Want to fill your home with light and cosiness? Wondering what original gift to give your loved ones? The answer is candles. Making handmade candles at home is a lot easier than you might think, and a lot cheaper too. Often, handmade candles can cost a fortune. You can surprise everyone with original handmade candles, or maybe discover a new hobby that turns into a passion or even a job. Candle-making is a soothing ritual that will take your worries away.
We’ve prepared a shopping list with tips to help you choose the products that suit you best. All from AliExpress at the cheapest price you can find. Most items have free shipping to New Zealand without any hidden fees.
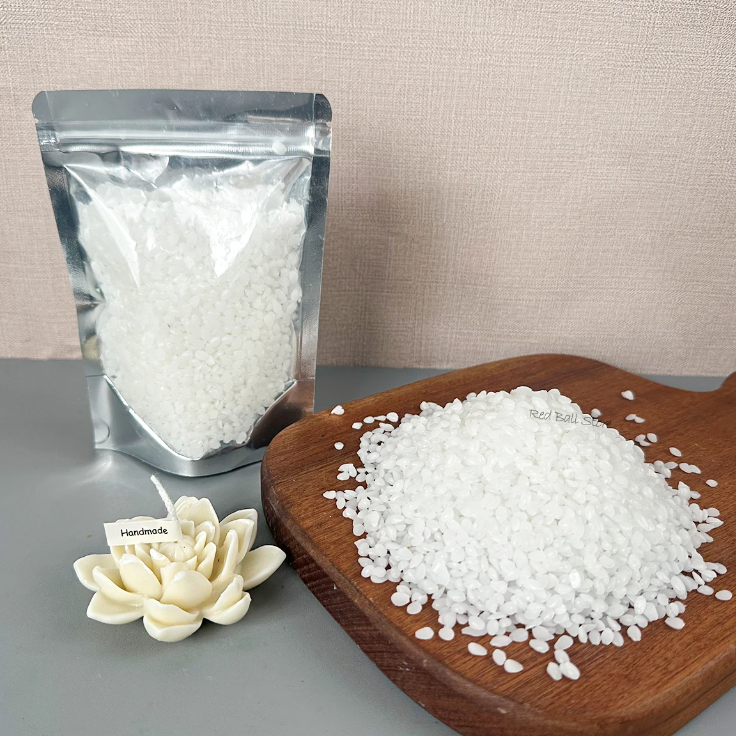
Wax
The process should start with the choice of wax, which will determine the shape and consistency of the candle.
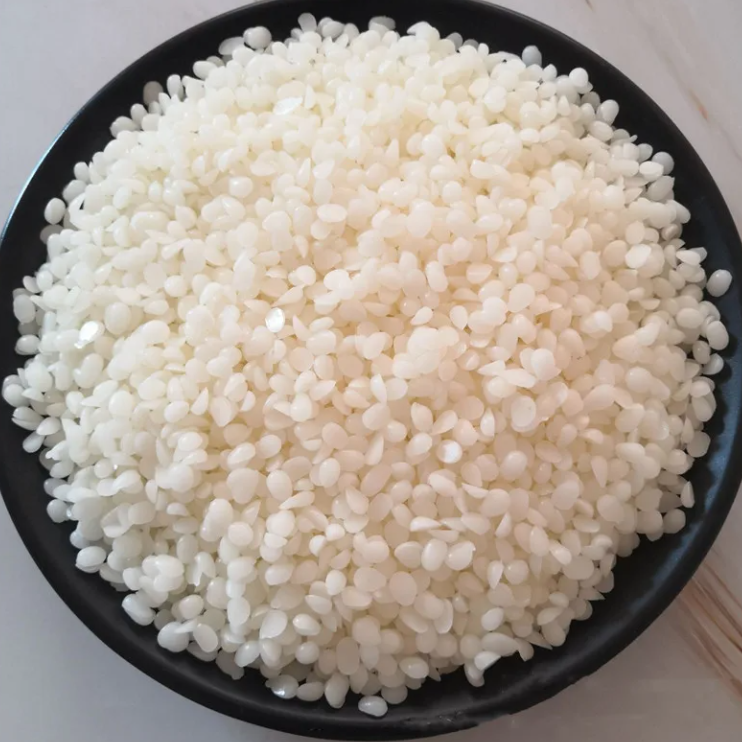
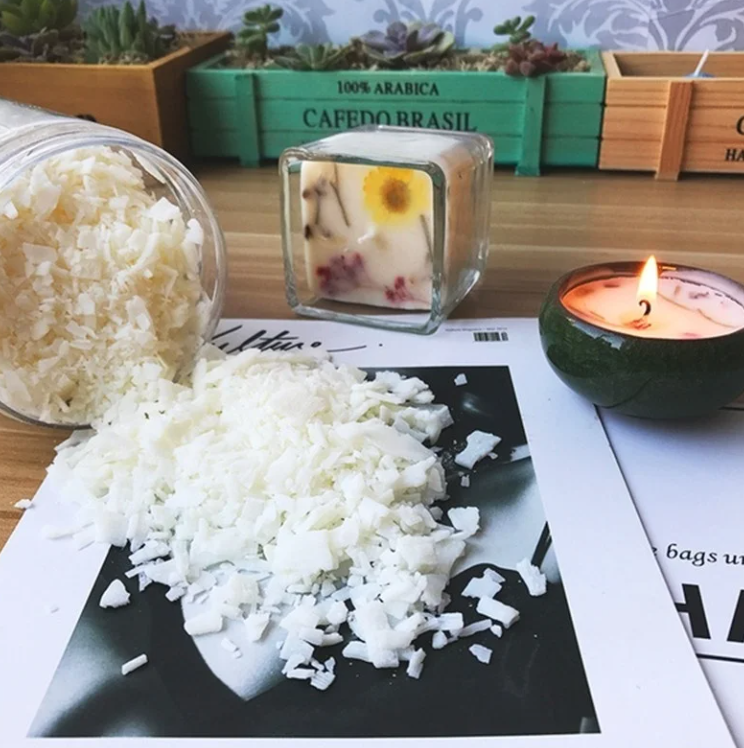
Soy wax
If you want to make candles in a jar, soy wax is the best choice. It has a creamy white colour, a very clean burn and will not leave black spots on the container. Soy wax has a good aroma diffusion.

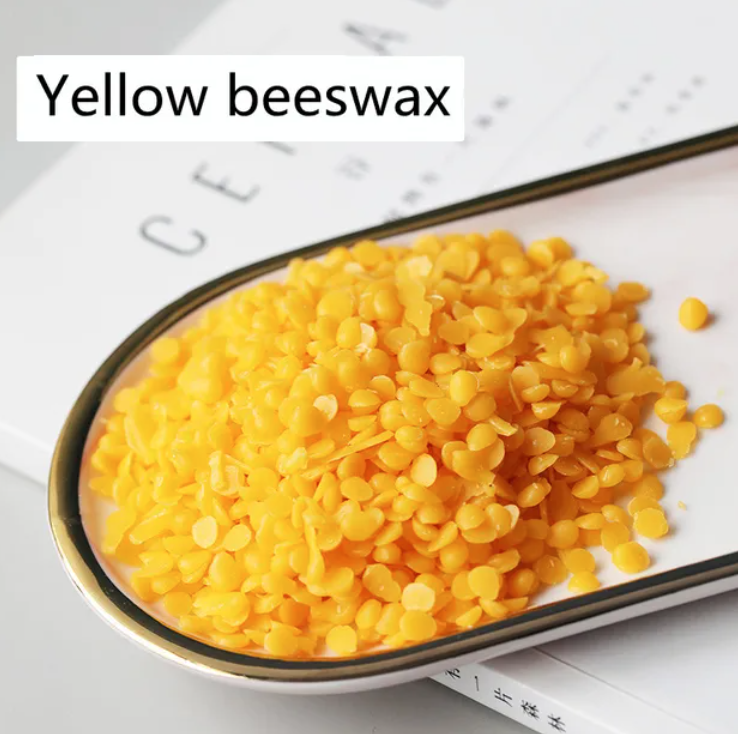
Beeswax
Beeswax is the ideal choice if you want a natural colour and fragrance. The main advantage is that beeswax is non-toxic. It can also be used in other handmade products such as lip balms, creams and lotions. Beeswax can be used to make hard candles. Such candles keep their shape well even at high temperatures. Beeswax can be mixed with other waxes to obtain the desired texture.

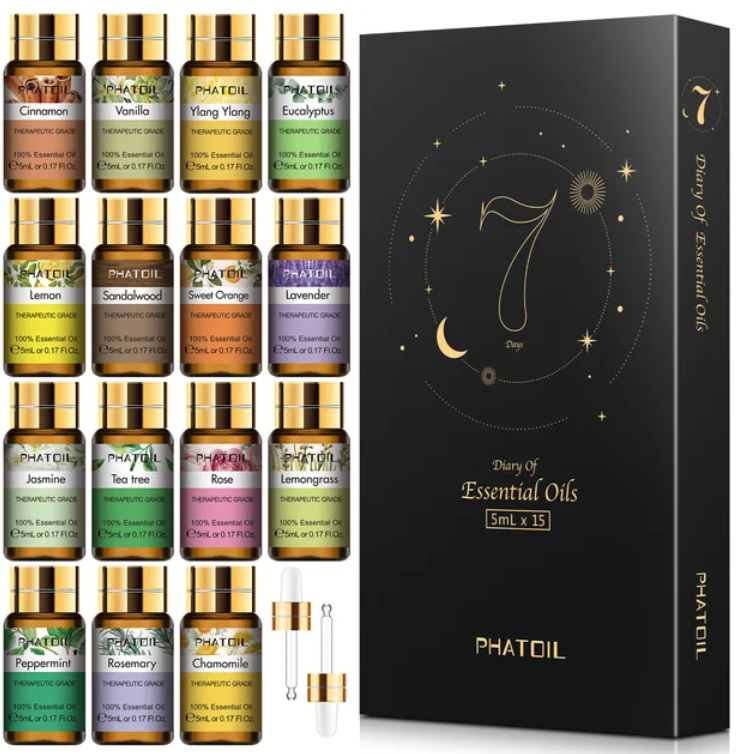
Essential oils
Essential oils give candles their character. We recommend natural scents because they will last long, as only a few drops are needed. The oils can also be used in aromatherapy. Add a few drops to a humidifier and fill your home with a wonderful scent.


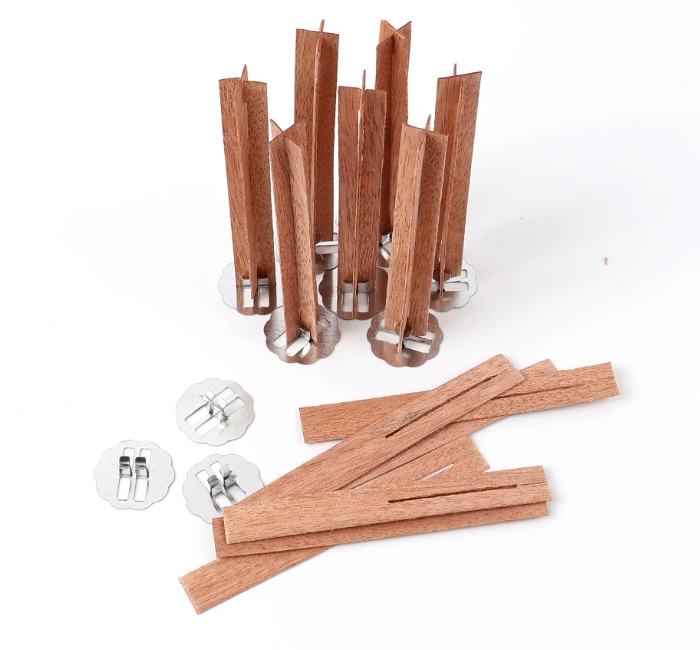
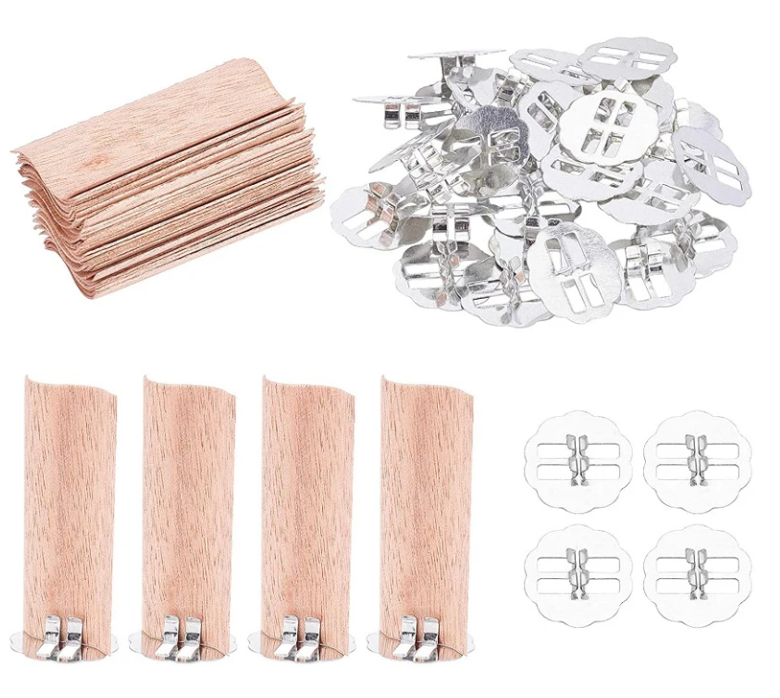
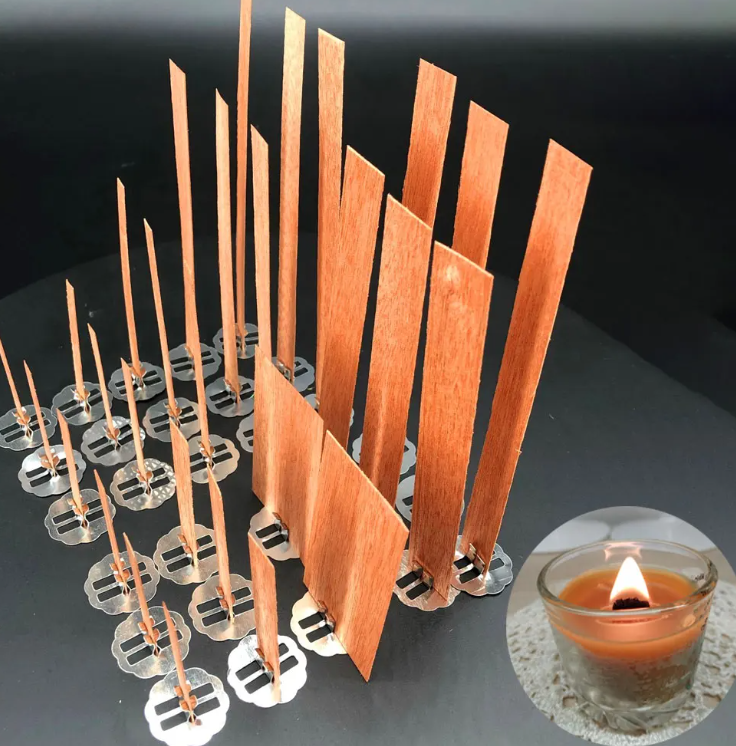
Wicks
Wicks are the essential components of candles. They are the medium through which the flame consumes the candle wax. The type and quality of the wick are important to ensure a smooth and even burn.
Wooden wicks
Wooden wicks give candles a stylish look. It is easier to make candles with wooden wicks as they do not require centring tools and do not bend or move. The use of a wick holder sticker is recommended. Wooden wicks can be used with both soy and beeswax.
Cotton wicks
Cotton wicks have become a classic in candle making. They burn evenly and do not require trimming. The wicks are robust, quick to extinguish and minimally flammable. They are already waxed and burn more slowly allowing you to enjoy the warmth and aroma longer.


Dyes
As much as the aroma, the appearance is important for candles. Different dyes give candles a distinctive look and combined with aromatic oils, you can create a spectacular effect.
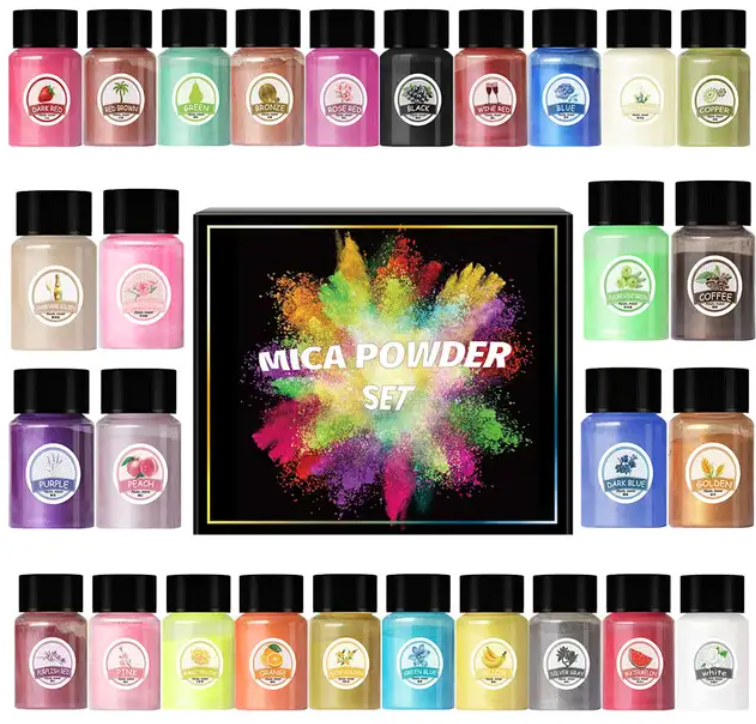
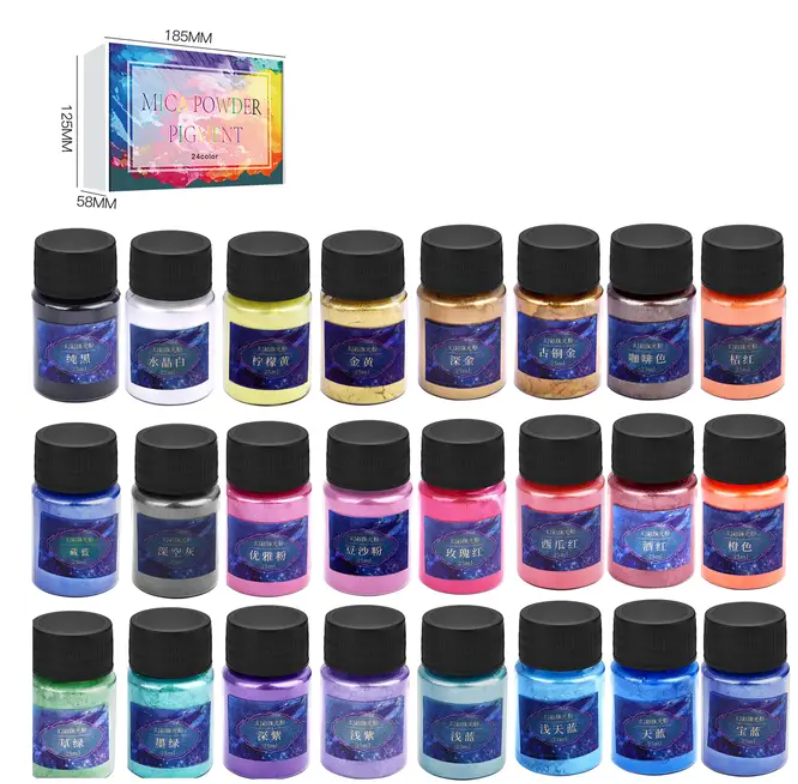
Powder dye
Dry and pigmented dyes do not liquefy your candles making it the perfect choice for hard candles.

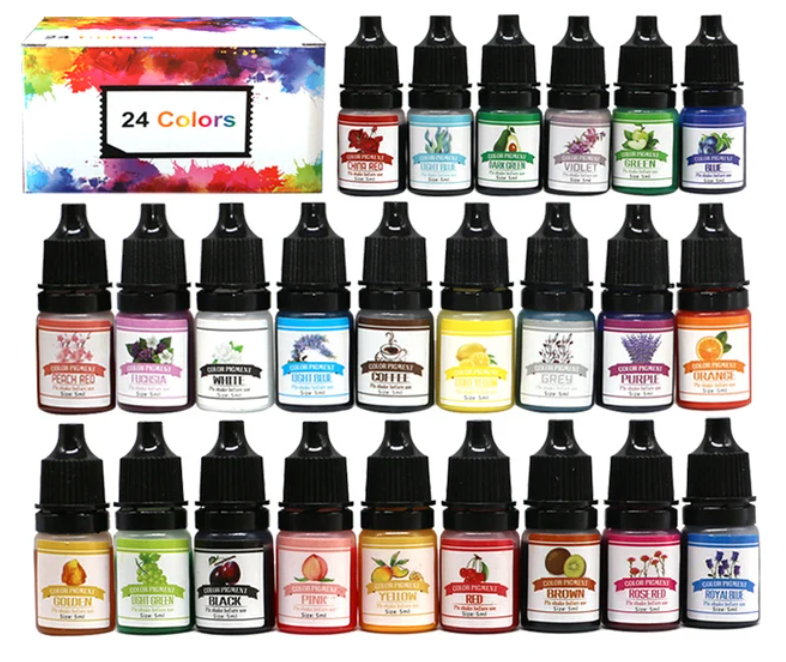
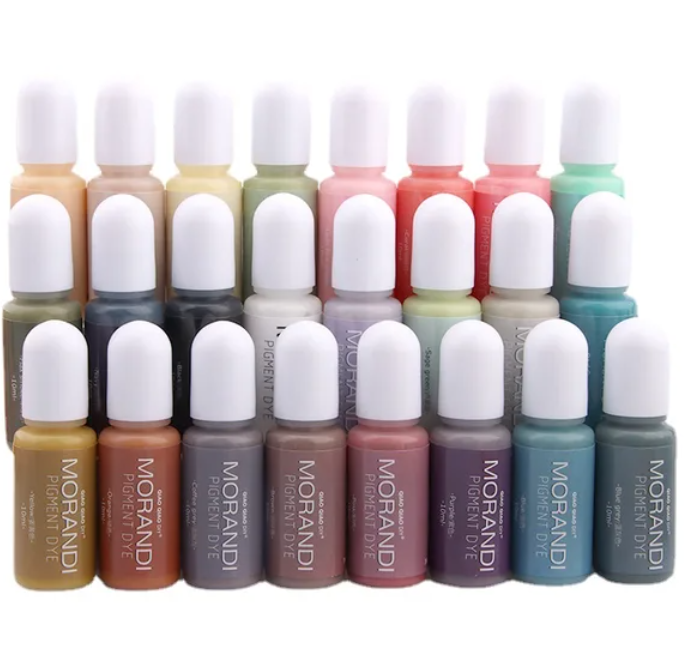
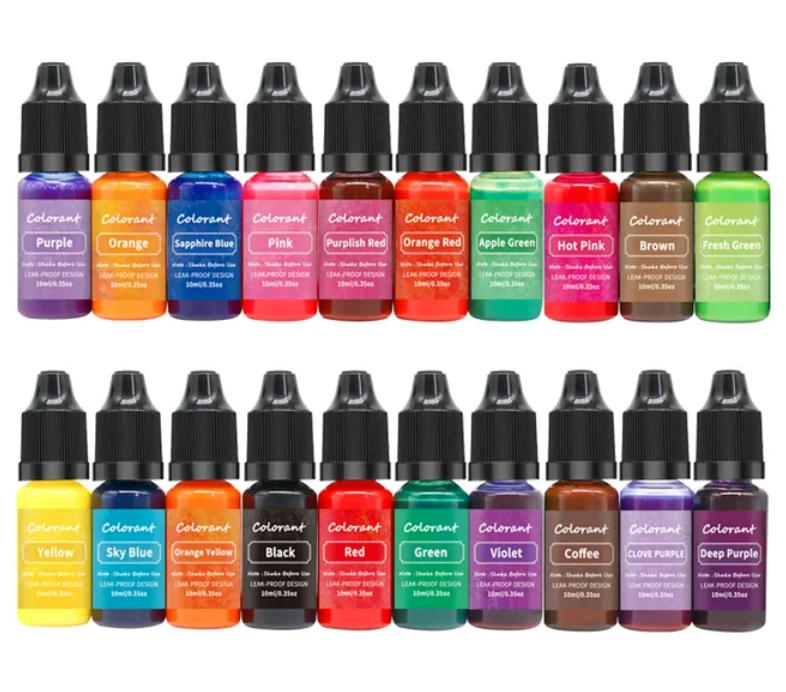
Liquid dye
Liquid candle dye is a concentrated solution specially formulated to colour candle wax. They blend perfectly, avoiding the staining or unevenness that can occur with powdered paint. Just a few drops can significantly change the shade of a batch of wax.
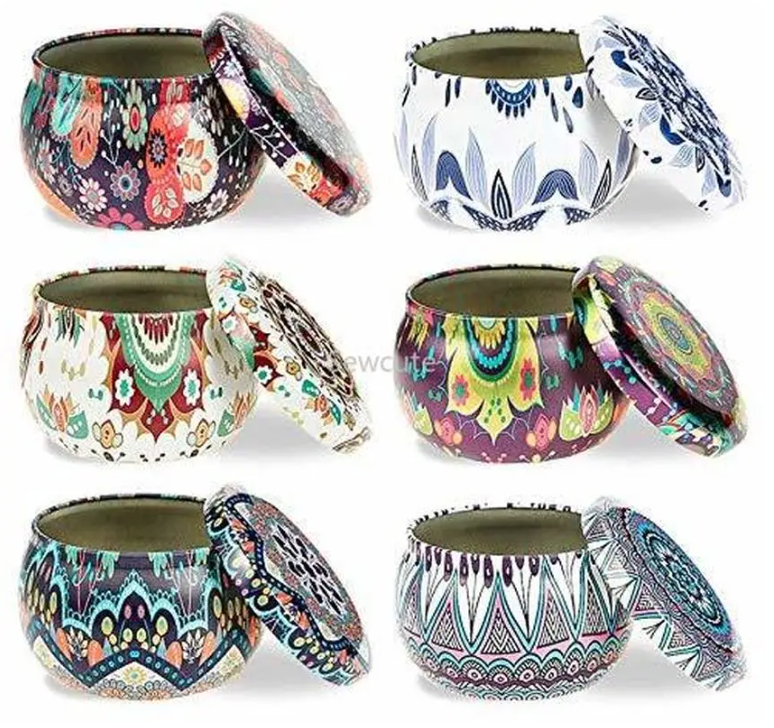
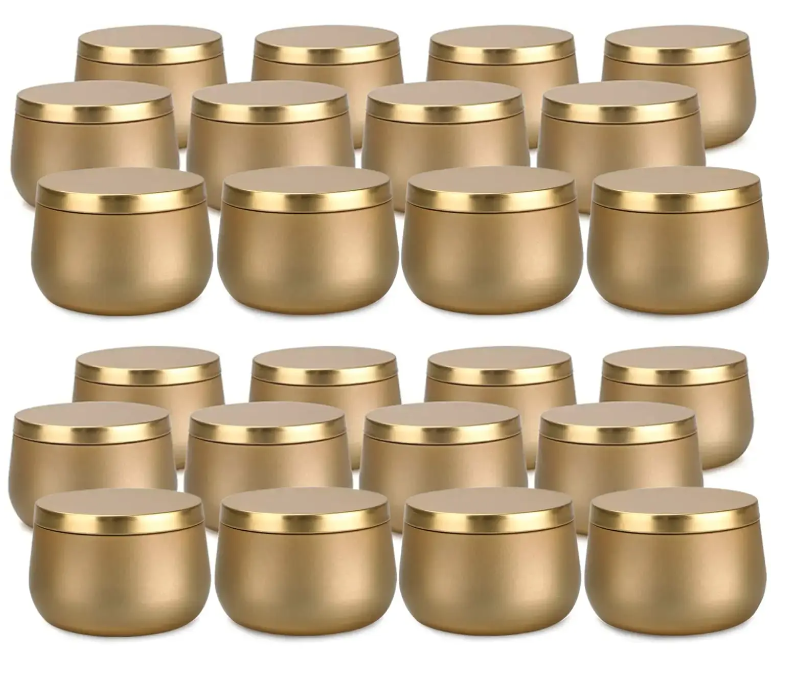
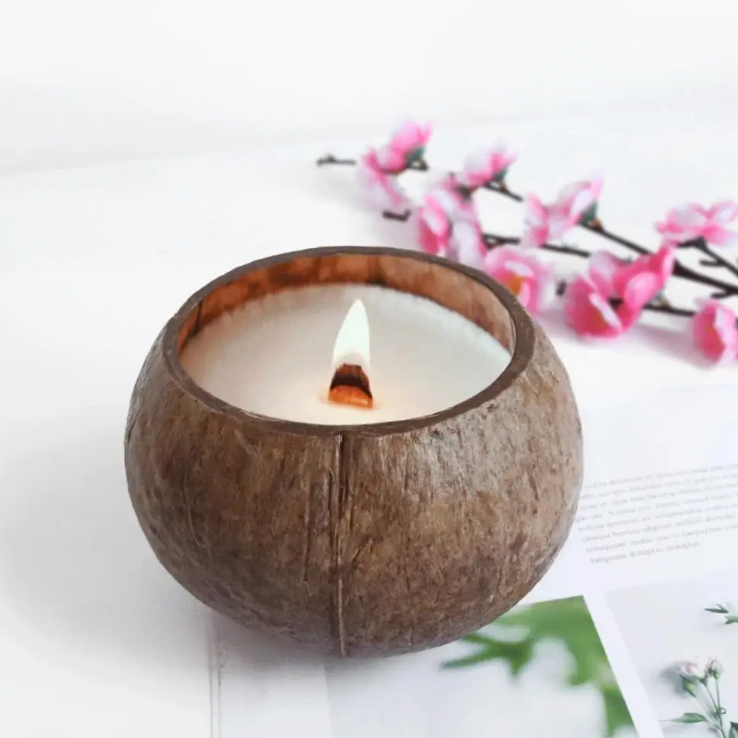
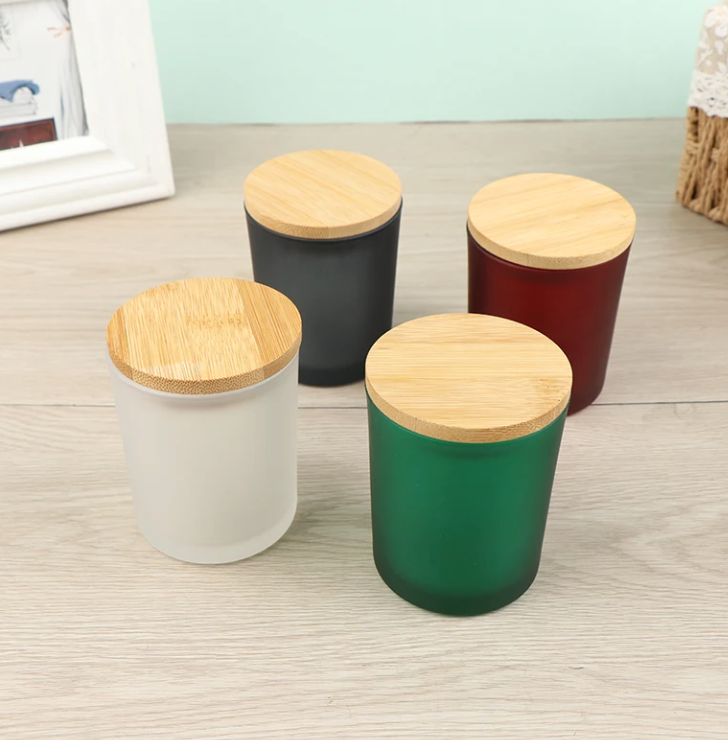
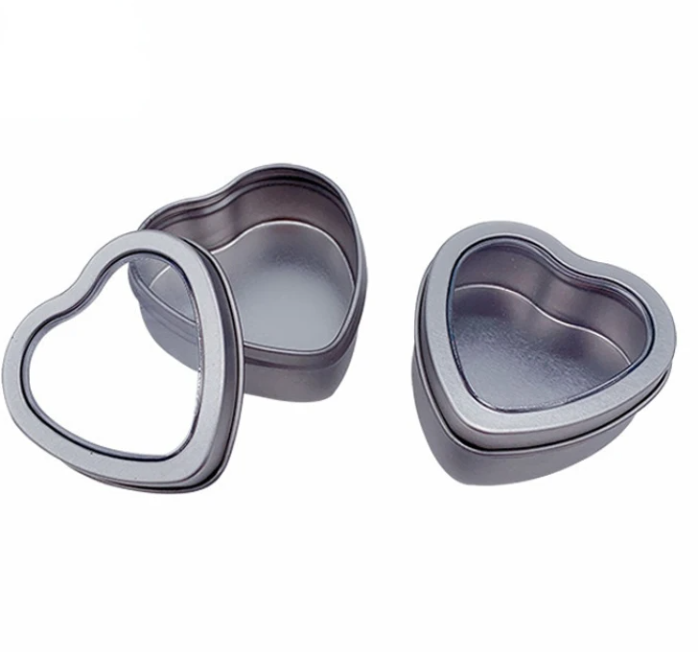
Containers
You can use your imagination and make candles in various containers to create unexpected designs. However, they will look best when poured into stylish jars.

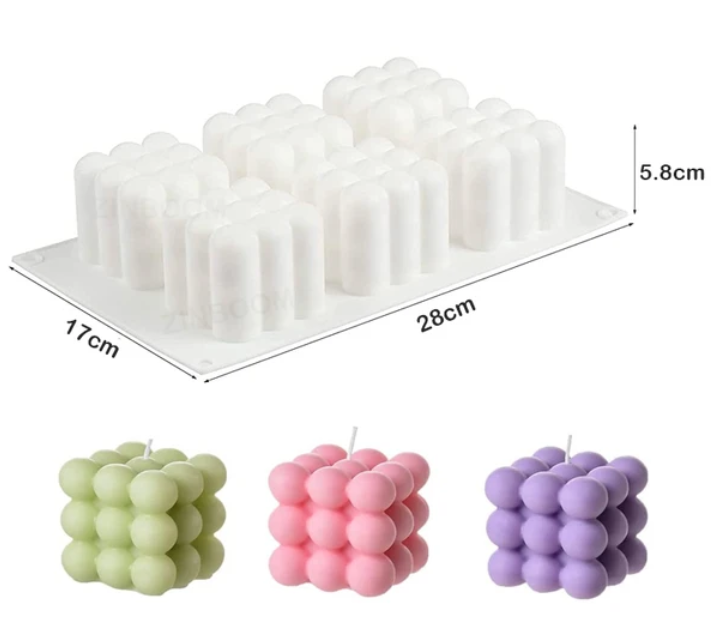
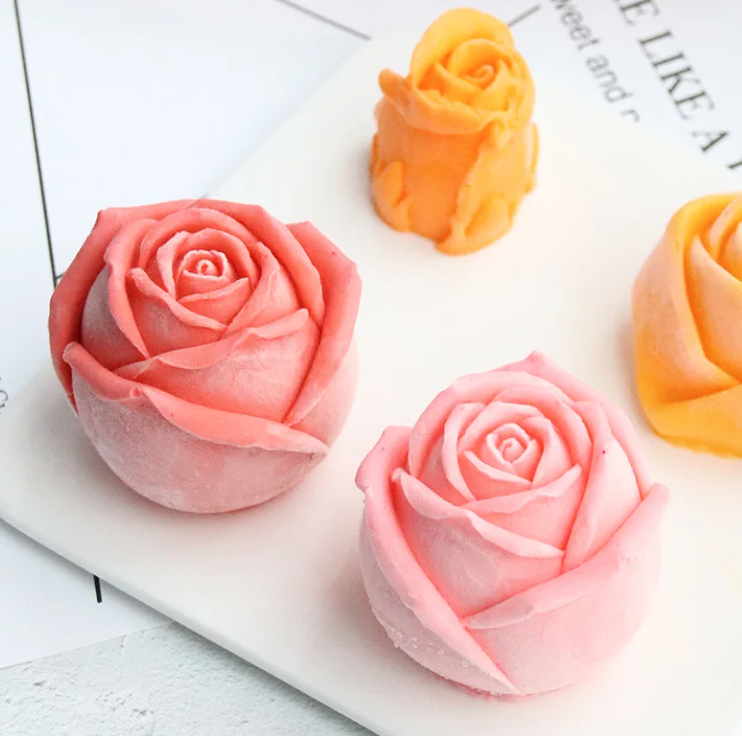
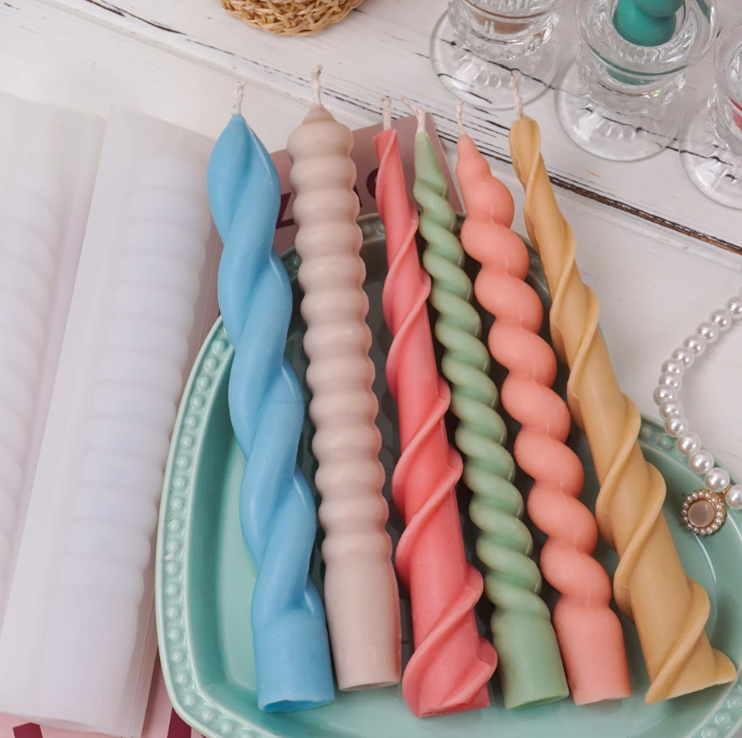
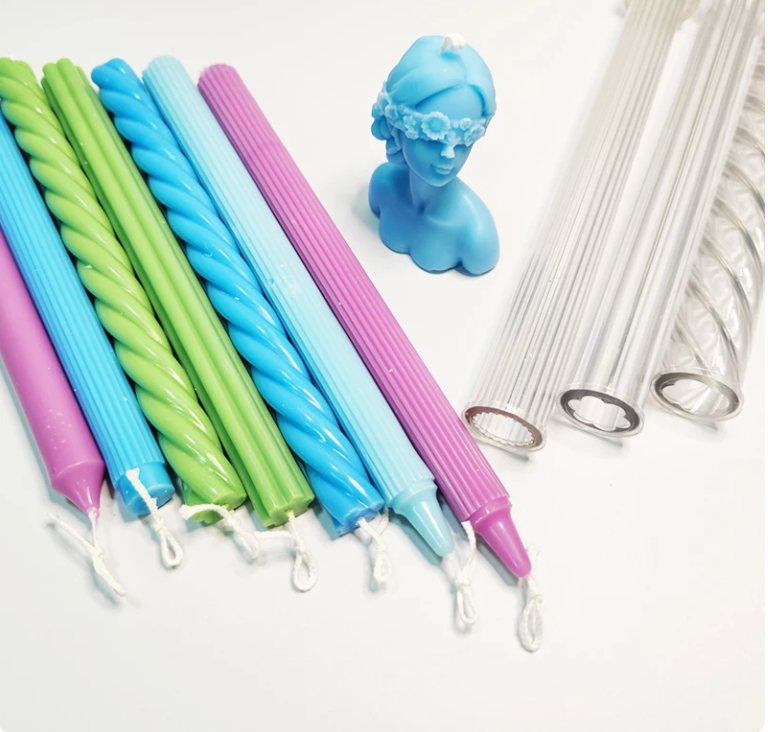
Silicon molds
If you want to make candles without containers, silicon molds are a good choice. These molds come in a wide range of shapes and sizes. Silicon molds are non-stick, meaning candles can be easily removed without damage. Additionally, they are heat-resistant and durable, even with frequent use.


Tools and accessories
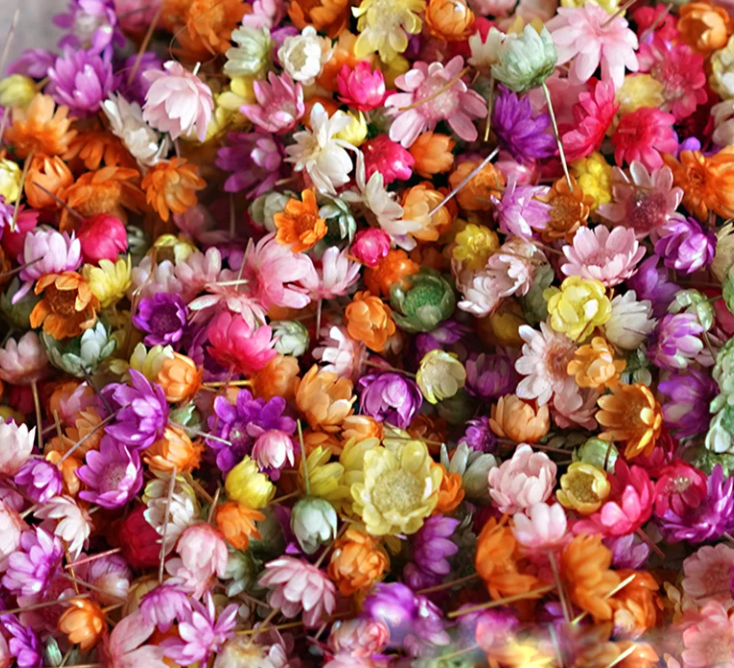
Dried flowers
If you didn’t get a chance to dry your flowers in the summer, Aliexpress is full of them. Here are some of the most beautiful dried flowers.


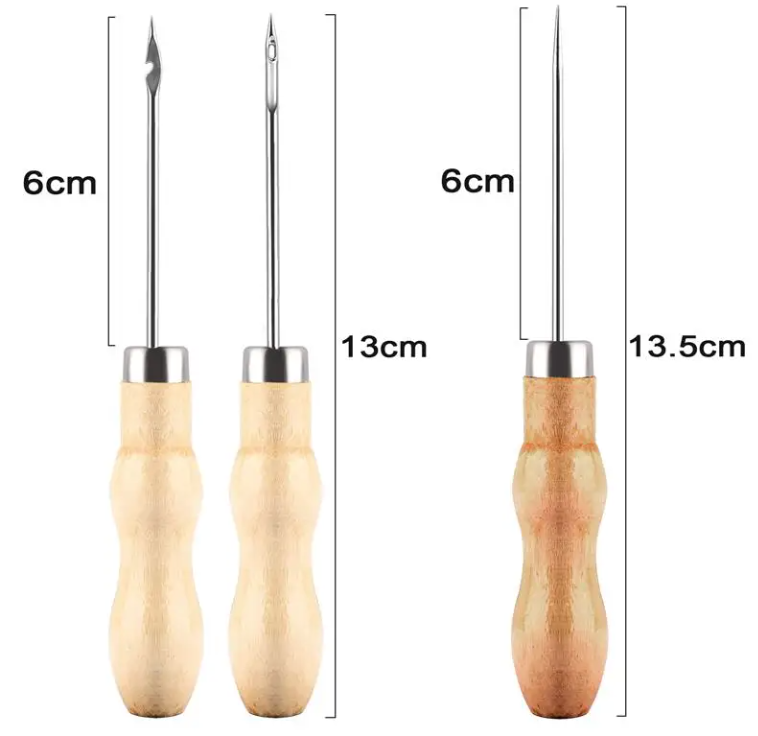
Tools
You can use your kitchen appliances for the entire process, although you can add a few essential items that will make the process easier.


Step-by-step guide for candle making
1. Prepare the Workspace
- Cover your work area with newspaper or a disposable cloth to catch spills.
- Gather all your materials so they are easily accessible.
2. Measure and Melt the Wax
- Determine the amount of wax you need by filling your container twice with flakes or beads.
- Melt the wax in a double boiler or a pouring pitcher set in a pot of boiling water. Avoid direct heat as it can overheat the wax.
3. Attach the Wick
- While the wax is melting, attach the wick to the bottom of your container. You can use a bit of melted wax, a glue dot, or a wick sticker to secure it.
- Use a wick holder or balance pencils or chopsticks across the container’s top to keep the wick centered and upright.
4. Add Fragrance and Dye
- Add fragrance oil and dye once the wax reaches about 85°C.
- Stir well for a thorough mix.
5. Pour the Wax
- Allow the wax to cool to about 57°C-63°C before pouring it into the container or mold.
- Pour slowly to avoid creating air bubbles.
6. Secure the Wick
- Make sure the wick is centered and straight as the wax begins to harden. Adjust if necessary.
7. Allow to Cool
- Let the candle cool undisturbed for at least 4 hours or overnight for best results. Avoid moving the candle until it’s completely solidified.
8. Trim the Wick
- Once the candle is solid, trim the wick. This ensures a clean burn.
9. Cure the Candle
- For the best scent throw, let your candle cure for a few days (48 hours to a week) before burning.
Additional Tips:
- Experiment with different scents and colors to create unique candles.
- Always monitor your candle while it is burning and never leave it unattended.
- Consider using natural waxes and scents for a more eco-friendly option.
Enjoy the process and have fun experimenting with different combinations to create candles that are uniquely yours!